If you didn’t know, S3 has a feature called Static Website Hosting that allows us to serve a static application from our S3 bucket. A Static Website is simply HTML, CSS and Javascript. There are no servers to provide the dynamic functionality of a framework like Rails (i.e. read and write to databases). However, you can actually have your Static Website use AWS Lambda to provide that dynamic functionality. All without servers!
In this part of our guide, we will create a sample Vue.js project, deploy it to S3, and then add some dynamic functionality by making a request to an AWS Lambda! This post is part of our complete guide: How to Build a Serverless Application on AWS using Ruby. We will be using the Lambda we created previously - however, you could use any Lambda. In fact, you could replace the Lambda call entirely with a call to any API. We are using Lambda because there are a few technical details you need to know in order to make it work. Making a request to an API that’s available online somewhere is pretty trivial.
We are going to discuss adding support for CORS to an AWS Lambda, if you found this guide because you are trying to make a request to an AWS Lambda behind an API Gateway and you are getting this error:
No ‘Access-Control-Allow-Origin’ header is present on the requested resource.
Then skip ahead and read: Adding Access-Control-Allow-Origin Headers to AWS Lambda.
If you found this guide because you are ready to build a Vue.js application and deploy it to S3, then read on!
What we are going to build
For this tutorial we are going to use the Vue CLI to create a sample project and then add functionality that will make a request to the Lambda we built in the previous post:
Build, Package, and Deploy an AWS Lambda using the Ruby Runtime
Creating a Vue.js application using the Vue CLI
The first thing we are going to need to do is install the Vue CLI globally:
yarn global add @vue/cli
Great! Now that’s installed we can use the CLI to generate a skeleton project similar to how you might create a Rails application using rails new
Run the following command to create the project:
vue create my-project
When prompted, select all the defaults and choose yarn for your package manager (its what this guide uses).
Now you are ready to fire up the sample project, use the following command to do that:
yarn serve
You should be staring at the Vue.js welcome screen!
Deploying a Vue.js application to S3
Before we add our Lambda functionality, let’s smoke test the deployment by pushing this sample project to our S3 bucket and serving it! First thing we are going to need to do is build the application for production.
Run the following command to build the application:
yarn build
This puts everything you need in a directory named dist. This is the folder you deploy to S3, but for that we are going to need a bucket!
Let’s make a bucket using the AWS CLI.
Creating buckets in S3 using the AWS CLI
We can list the buckets we have in our account using the following command:
aws s3 ls
But we came here to make a bucket, so let’s do that now:
aws s3 mb s3://name-your-bucket
Now you simply copy your files into your bucket! Easiest. Deployment. Ever.
aws s3 cp ./dist s3://name-of-your-bucket --recursive
At this point we simply have a bucket with files in it. So we are going to turn on Static Website Hosting for the bucket in order to serve the root html file (in this case index.html) from a URL provided by S3.
Here’s how you turn on Static Website Hosting for the bucket you just created:
aws s3 website s3://name-of-your-bucket/ --index-document index.html
If you were to go into the S3 Console you would see that a URL has been created for the bucket. These URLs follow a pattern, so knowing the pattern we can simply type the following into our browser:
http://my-bucket.s3-website-us-west-2.amazonaws.com
Note: you will have to replace the region if your bucket is not in us-west-2
After trying to access that url you will have recieved the following error:
Access Denied!
The problem is we need to set a bucket policy so all the files in this bucket are readable by anyone that types that URL.
Adding a Bucket Policy to serve a Static Website from S3
First we need to create a file with the following contents:
{
    "Version": "2012-10-17",
    "Statement": [
        {
            "Sid": "PublicReadGetObject",
            "Effect": "Allow",
            "Principal": "*",
            "Action": "s3:GetObject",
            "Resource": "arn:aws:s3:::name-of-your-bucket/*"
        }
    ]
}
Now we will use the CLI to add the bucket policy to our bucket. Notice we are using the s3api command instead of s3 for this:
aws s3api put-bucket-policy \
--bucket NameOfYourBucket \
--policy file://your-policy-file.json
Now you should be able to open your static website using the URL, let’s be fancy and do that from the terminal:
open http://name-of-your-bucket.s3-website-us-west-2.amazonaws.com
You should see the Welcome to Vue.js page again, but this time its hosted on S3! Congratulations!
Now let’s make this thing talk to the Ruby Lambda we created in the previous post. You could also use any Lambda behind an API Gateway or simply make a request to an API on the web.
Adding VueResouce to a Vue.js application
Before we add VueResource to our code, we are going to need to pull down the package:
yarn add vue-resouce
With that out of the way, we can add it to our sample project:
// src/main.js
import VueResource from 'vue-resource'
Vue.use(VueResource)
Now, lets simply add a button to the app that we will use to click and invoke our Lambda:
<!-- src/App.vue -->
<template>
  <div id="app">
    <img alt="Vue logo" src="./assets/logo.png">
    <HelloWorld msg="Welcome to Your Vue.js App"/>
    <button v-on:click="loadData">Load Data</button>
  </div>
</template>
You should be able to view your application in the browser and see our button in all its glory!
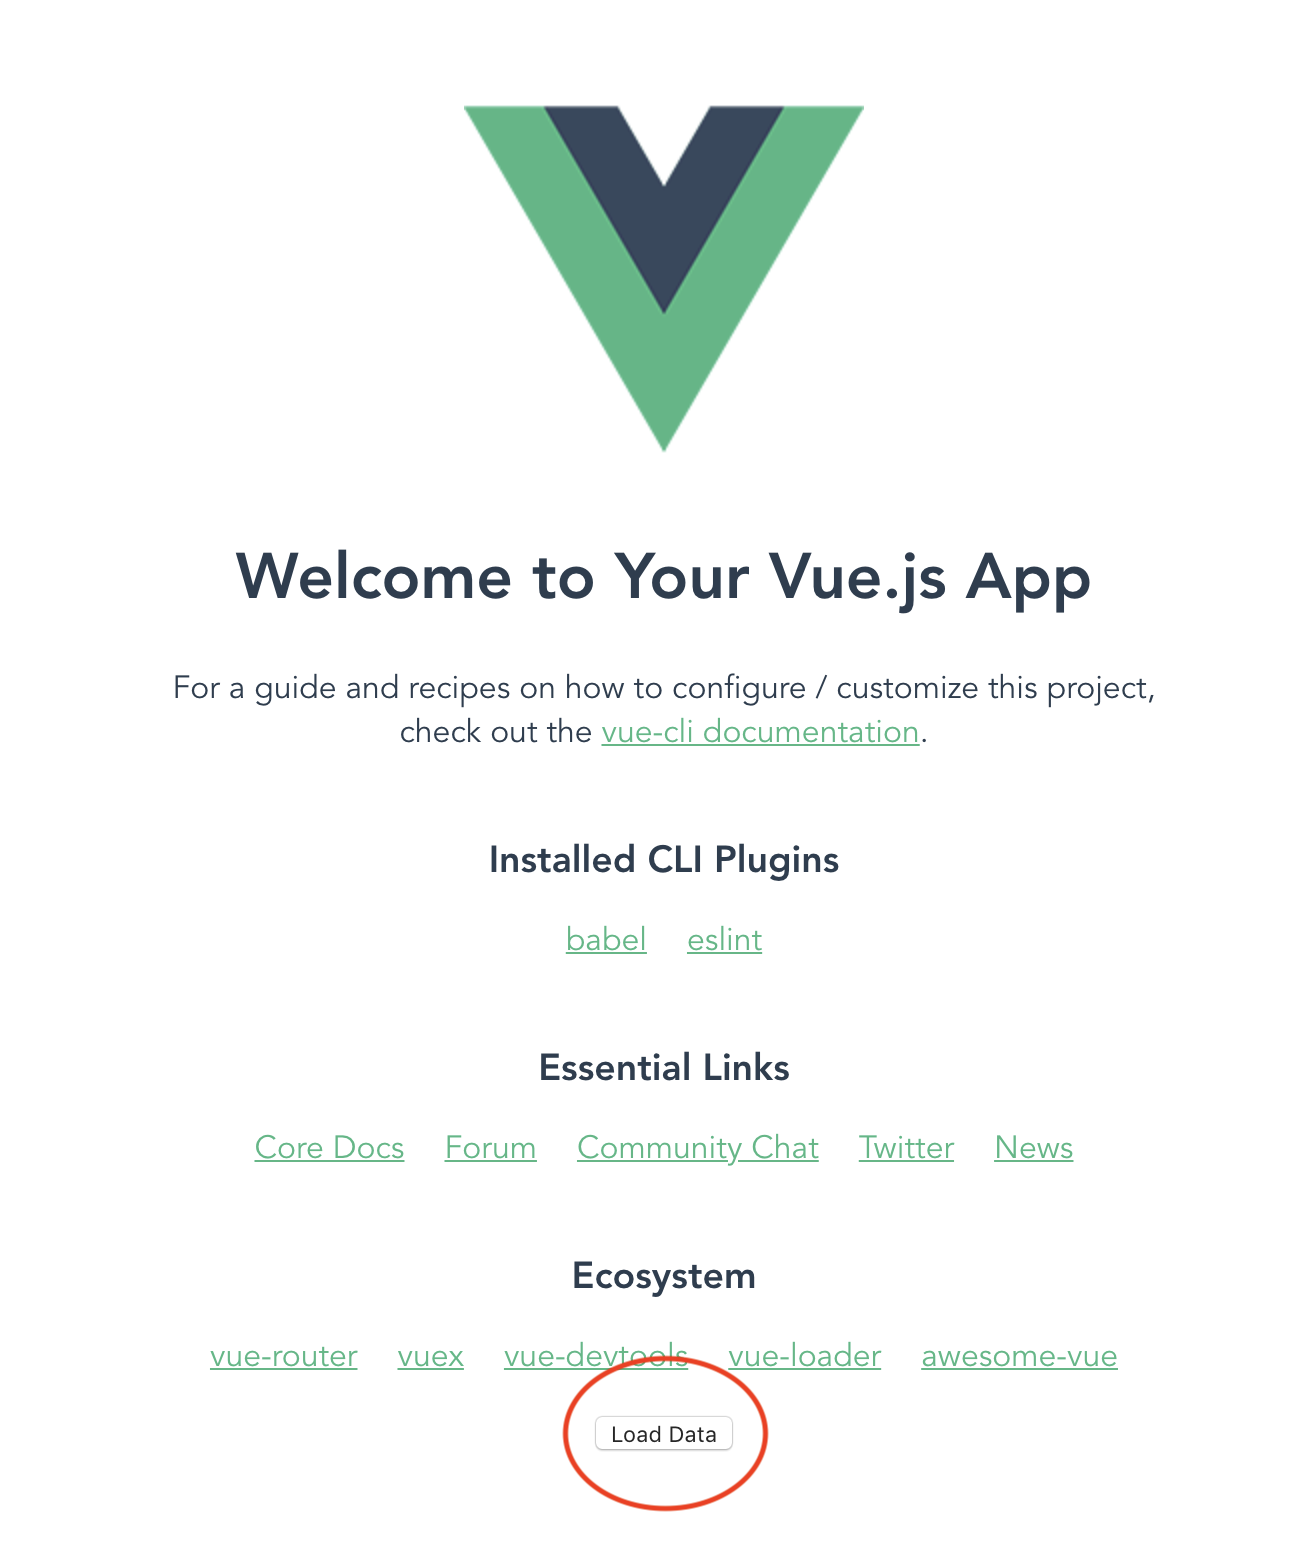
It isn’t pretty… but it will serve our purposes.
Now we need to get the URL from our Lambda. You might not have noticed when we created the Lambda in the last exercise that it also created an API Gateway that can be used to invoke it through a browser!
Take a look at the template.yaml file created for your Lambda project and you should see the following Output:
# hello_world/template.yaml
Outputs:
  HelloWorldApi:
    Description: API Gateway endpoint URL for Prod stage for Hello World function
    Value:
      Fn::Sub: https://${ServerlessRestApi}.execute-api.${AWS::Region}.amazonaws.com/Prod/hello/
Unfortunately AWS SAM does not output the url to the terminal after deployment the way that Serverless.com does. So we have to go to the AWS Console and get it for ourselves:
- Go to the API Gateway Console
- Click your app name from the navigation on the left hand side of the page
- Click Dashboard
You should see your URL beside the label: Invoke this API at:
Now we can write a function to load data from that URL in our sample project:
// src/App.vue
export default {
  name: 'app',
  components: {
    HelloWorld
  },
  methods: {
    loadData: function() {
      this.$http.get('https://rest-api-id.execute-api.us-west-2.amazonaws.com/Prod/hello').then(response => {
        console.log(response);
      }, response => {
        console.log(response);
      });
    }
  }
}
Run your app:
yarn serve
Clicking on the button will throw a CORS error:
No ‘Access-Control-Allow-Origin’ header is present on the requested resource.
This is because our page is hosted on one domain and our API Gateway is on another. A discussion about CORS is way beyond the scope of this guide, so let’s just show you how to solve it in development.
Adding Access-Control-Allow-Origin Headers to AWS Lambda
Basically the issue is that your Lambda is not sending back headers that say its allowed to be invoked from the other domain:
Let’s add those headers to the Lambda we created in the previous post:
# hello_world/app.rb

def lambda_handler
  # ...

  {
    headers: {
        'Access-Control-Allow-Origin': '*'
    },
    statusCode: 200,
    body: {
      message: "There are #{Weapon.count} weapons in the database.",
    }.to_json
  }
end
Notice we are allowing *, which is all domains. You wouldn’t want to do this in production. You will want to explicitly set the domains.
Now go ahead and build, package, and deploy your Lambda!
Click the button again and now you should see your response in the console! Hooray!
You can deploy this application to your S3 bucket just like before by building it:
yarn build
Then copying all the files to S3:
aws s3 cp ./dist s3://name-of-your-bucket --recursive
You did it! You deployed a Static Website to S3 that used Vue.js, VueResouce, AWS Lambda and API Gateway. Now you know the basics of deploying Serverless applications to S3!